Getting Started
Packages, other requirements, and virtual environments
Virtualenv, venv, conda or pyenv can be used to create virtual environments to manage python packages. You can use conda env by installing conda for your OS (conda_installation) and use the following yml file with all dependencies.
conda update -n base -c defaults conda
conda create -n sst02VE python=3.8 pip -c conda-forge
conda activate sst02VE
pip install -r requirements.txt
pip install -r requirements-dev.txt
Creating PythonTemplate
Step 1: Launch your conda environment
conda activate sst02VE
Step 2: Create a local directory to host your project.
Step 3: The SciKit-Surgery Python Templates uses cookiecutter to generate a project from a templates. Start by checking you have cookiecutter installed. Otherwise activate your virtual environment.
pip install cookiecutter
Step 4: Use the Python Template to create your new project. This tutorial uses a sphere fitting algorithm as an example case, as it strikes a nice balance between simplicity and usefulness. Fitting models to data is a key part of medical image computing, so hopefully the user can see how their own algorithms could be inserted into the software template.
cookiecutter https://github.com/SciKit-Surgery/PythonTemplate.git
If that doesn’t work try,
python -m cookiecutter https://github.com/SciKit-Surgery/PythonTemplate.git
Step 5: Follow the prompts, we should call our project something descriptive, so if you’re doing sphere fitting:
project_name [My New Project]: scikit-surgery-sphere-fitting
project_slug [scikit-surgery-sphere-fitting]: sksurgeryspherefitting
project_description [scikit-surgery-sphere-fitting is a Python package]: scikit-surgery-sphere-fitting implements a least squares sphere fitting algorithm, to read a vtk poly data file, a config file, and outputs the fitted sphere.
pkg_name [sksurgeryspherefitting]:
Select repository_server:
1 - https://github.com
2 - https://weisslab.cs.ucl.ac.uk
3 - https://cmiclab.cs.ucl.ac.uk
4 - https://gitlab.com
Choose from 1, 2, 3, 4 [1]: 1
full_name [Your Name]: Miguel Xochicale
repository_profile_name [e.g. Your GitHub Username]: mxochicale
Select repository_path:
1 - mxochicale/sksurgeryspherefitting
2 - SciKit-Surgery/sksurgeryspherefitting
3 - UCL/sksurgeryspherefitting
4 - niftk/sksurgeryspherefitting
5 - /sksurgeryspherefitting
Choose from 1, 2, 3, 4, 5 [1]: 1
project_url [https://github.com/mxochicale/sksurgeryspherefitting]:
Select open_source_license:
1 - BSD-3 license
2 - Apache Software License 2.0
3 - MIT License
Choose from 1, 2, 3 [1]: 1
copyright_holder [University College London]:
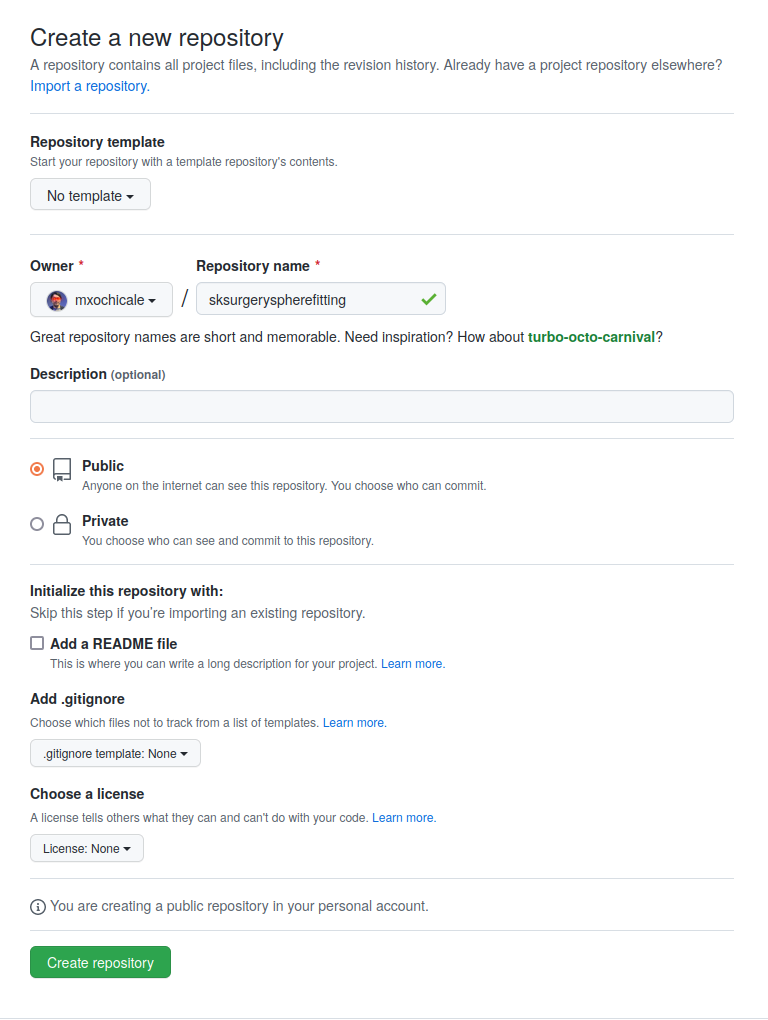
Create a new GitHub repository
You might need to create your Secure Shell Protocol (SSH) keys here. User also needs to Adds a new SSH key to GitHub account. Then, create a new project on GitHub (or GitLab, WeissLab or your preferred git host), making sure the URL matches what you set in step 3 (e.g., project_url [https://github.com/mxochicale/sksurgeryspherefitting].
Initialise git repository
Enter the source directory and initialise git repository.
cd sksurgeryspherefitting/
git init
git branch -m main
git add .
git commit -m "Initial commit of my sphere fitter"
Add the remote to git and push your first commit
git remote add origin git@github.com:mxochicale/sksurgeryspherefitting.git
git push origin main
Visit the web interface to GitHub (or your preferred git host) and checkout out your first commit
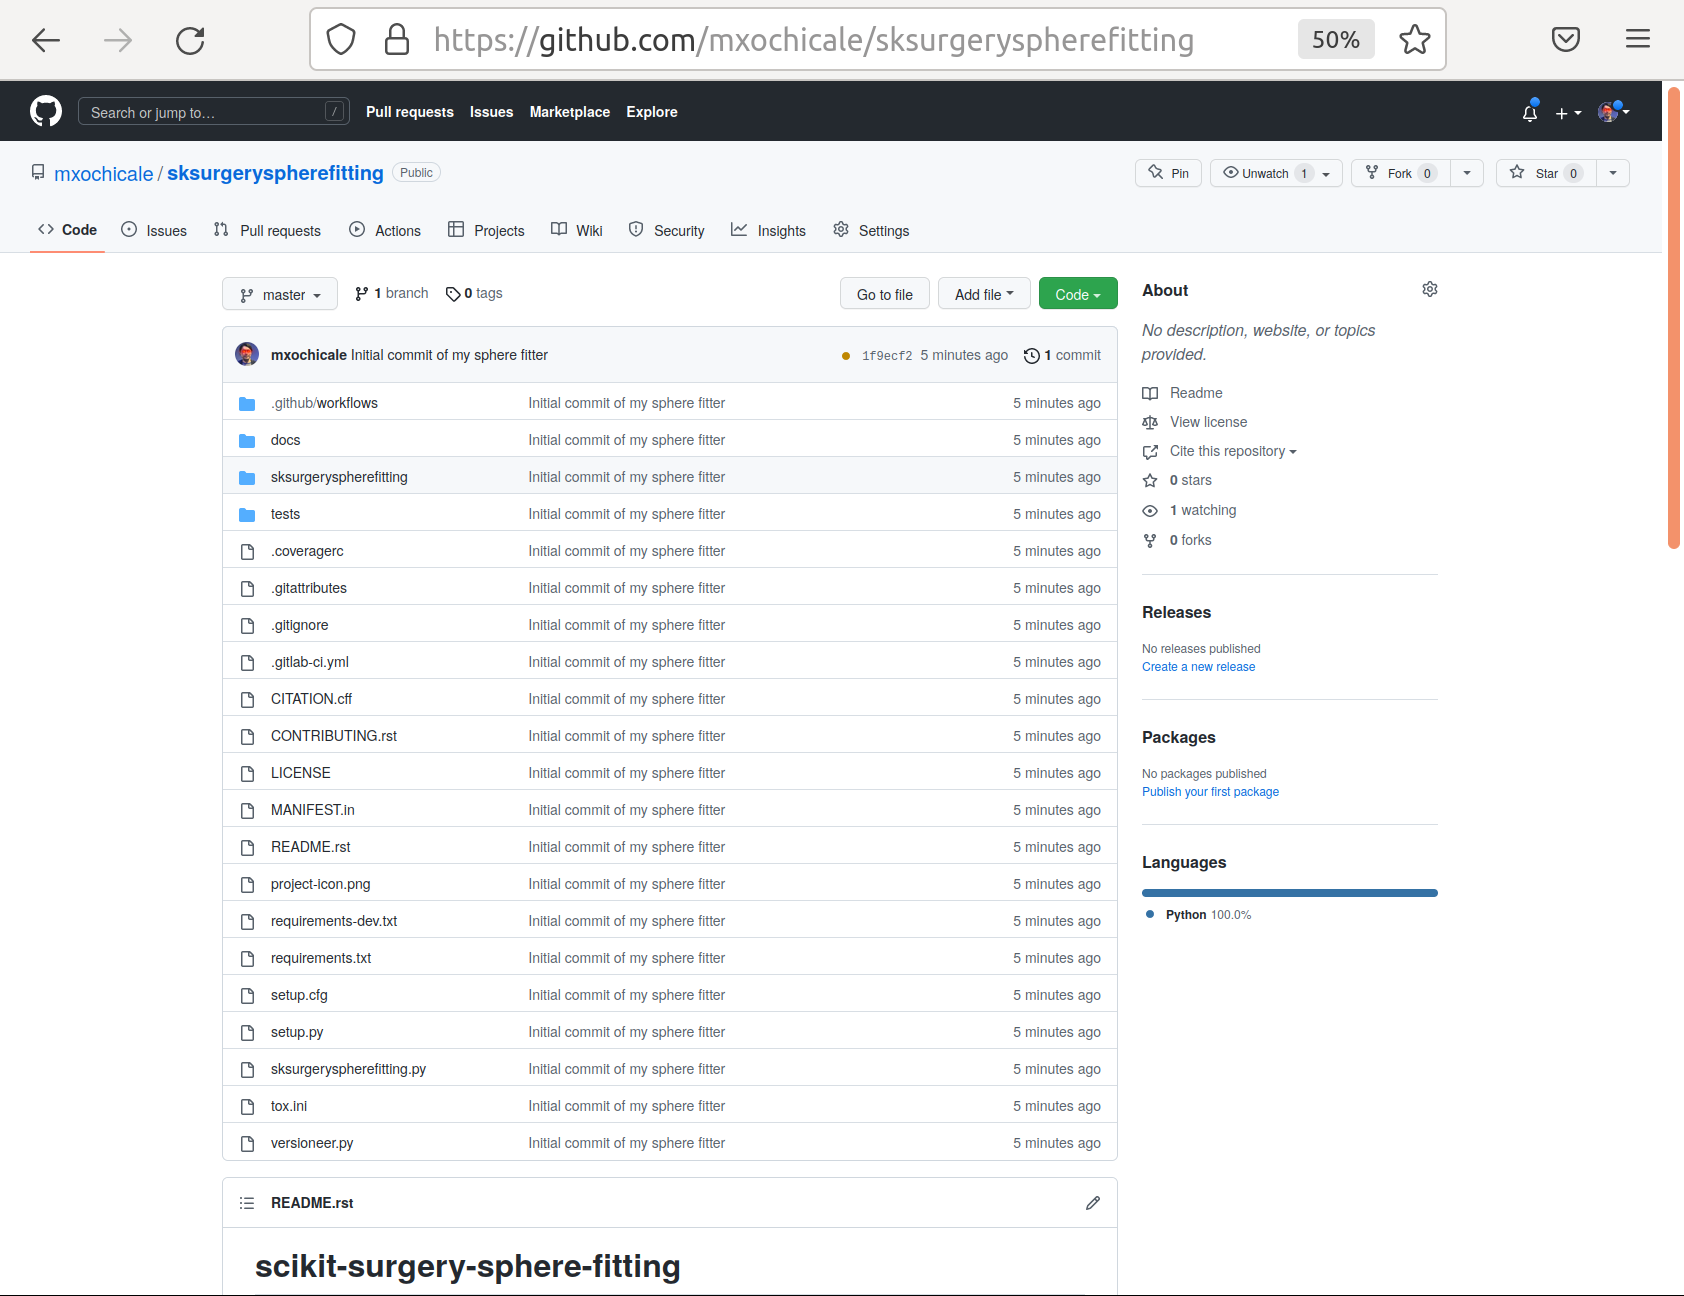
You may notice that it says that your commit failed. This refers to the continuous integration test having failed, not that your project was lost. By the end this tutorial you will have a green tick where now there is a red cross, for know though, don’t worry.